

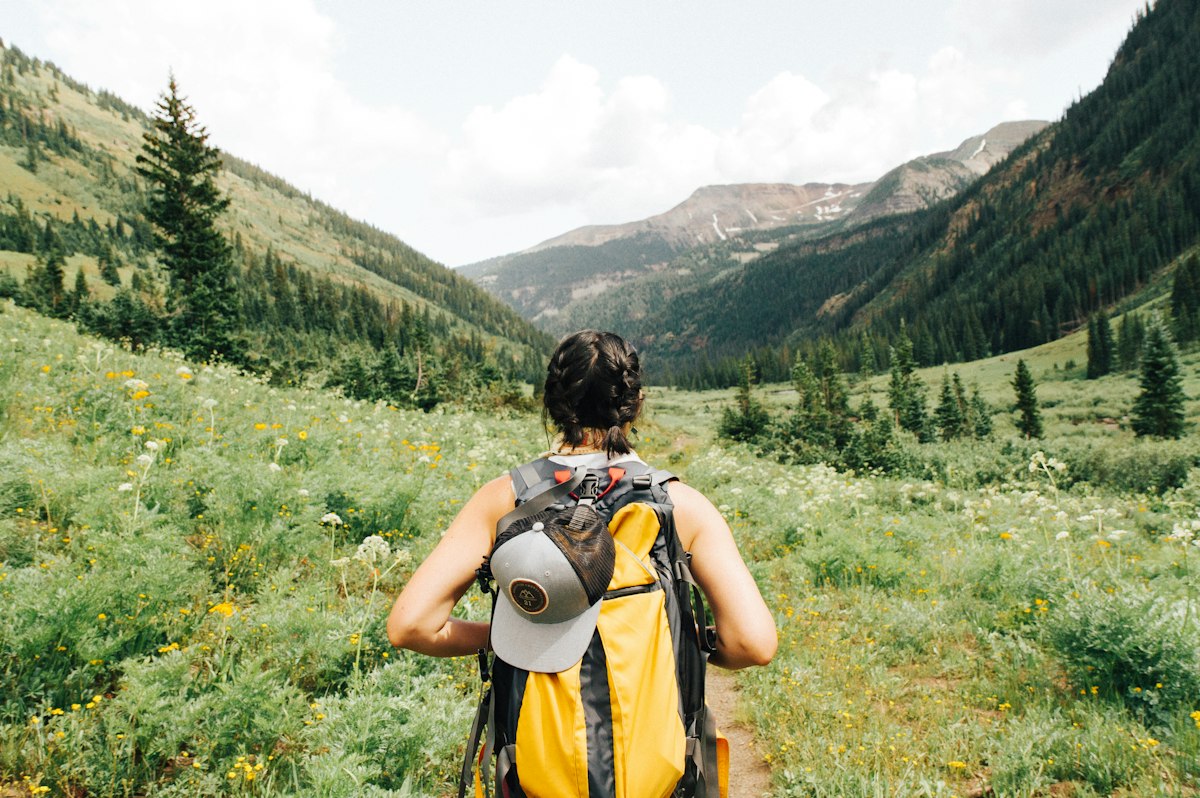
Standing at the trailhead with a loaded pack on your shoulders should fill you with excitement, not dread. Yet many beginners find themselves struggling with a heavy, unbalanced bag that pulls hard against their shoulders and throws off their balance on rocky terrain. The difference between an exhausting trek and an energizing hike often comes down to internal organization. Learning how to pack a backpack for camping correctly transforms twenty to thirty pounds of outdoor equipment into a stable, well-balanced load that moves naturally with your body. By understanding weight distribution zones, accessibility principles, and compression habits, you can hike longer distances in complete comfort. Here is your definitive, trail-tested guide to packing your backpack like a seasoned outdoor guide.

The Golden Rule: Understanding the Four Weight Zones
A technical internal frame backpack is designed to transfer roughly eighty percent of its total weight directly onto your hips rather than your shoulders. To achieve this balance, your pack is divided into four distinct loading zones: the bottom, the core middle against your spine, the top, and the external accessory pockets. Placing heavy items in the wrong zone forces your spine to curve unnaturally, causing rapid shoulder fatigue and lower back pain.
The bottom zone is reserved for lightweight, bulky gear that you will not touch until you arrive at camp. Your sleeping bag, sleeping pad, and bedtime camp clothes belong here. Stashing these fluffy items at the very base creates a cushioned foundation that absorbs trail shocks while keeping heavier gear from pressing directly onto your tailbone.
The core middle zone, sitting directly against your spine and between your shoulder blades, is where your heaviest gear must live. This includes your camp stove, fuel canisters, cook pots, tent body, and dense food bags. Keeping your heaviest gear snug against your back aligns the pack’s center of gravity with your own body center, preventing the pack from swaying backward.
Backpack Weight Distribution Guide
| Pack Zone | Weight Type | Items to Stash Here |
|---|---|---|
| Bottom Zone | Light & Bulky | Sleeping bag, sleep socks, puffy camp jacket, inflatable sleeping pad. |
| Core Middle (Spine) | Heaviest Gear | Food sack/bear canister, stove, liquid fuel, water bladder, tent body. |
| Top Zone | Medium & Essential | Rain jacket, warm fleece, first-aid kit, water filter, lunch snacks. |
| Exterior & Lid | Quick-Access Items | Headlamp, map, compass, lip balm, sunscreen, insect spray, tent poles. |
The ABC Method of Effortless Trail Packing
Experienced backpackers rely on a simple memory formula known as the ABC method: Accessibility, Balance, and Compression. Keeping this formula in mind when learning how to pack a backpack for camping correctly ensures you never have to empty your entire bag on the muddy ground just to find a band-aid or rain jacket.
Accessibility: Think about your daily hiking schedule. What items might you need without taking off your pack or within twenty seconds of stopping? High-energy snacks, water bottles, trail maps, and your headlamp should never be buried deep inside the main compartment. Keep them in the exterior stretch mesh pocket, hip belt pockets, or the top lid compartment.
Balance: Maintain equal weight between the left and right sides of your pack. If your heavy fuel canister is on the left side, balance the right side with your dense cook kit or water filter. An uneven pack causes you to subconsciously lean to one side, leading to neck strain and ankle fatigue after several trail miles.
Compression: Avoid empty air pockets inside your pack. Loose items will shift and jostle around as you climb steep switchbacks. Use small ultralight dry bags or packing cubes to compress extra clothing, and pull the exterior side compression straps tight to lock the entire load into a compact cylinder.

Step-by-Step Packing Routine Before Departing
Now that you understand the zones and principles, follow this systematic step-by-step loading routine every morning in camp:
- Line the Pack Interior: Place an inexpensive heavy-duty trash compactor bag or silnylon pack liner inside your empty backpack. This creates a foolproof waterproof barrier that keeps your sleeping bag and dry clothes safe during torrential storms.
- Insert the Sleeping System: Stuff your sleeping bag loosely into the bottom of the liner, allowing it to fill every corner. Push your sleeping pad and camp clothing down on top, then twist the liner closed.
- Stack the Heavy Core: Slide your hydration bladder into its dedicated back sleeve. Next, lower your food sack or hard-sided bear canister directly against the inner back wall. Pack your stove, fuel, and cookware alongside it.
- Fill Peripheral Gaps: Wedge soft items like your camp towel, extra wool socks, or rainfly into the gaps between hard containers to eliminate wasted dead space.
- Pack Midday Essentials on Top: Place your rain gear, warm insulating layer, packable water purifier, and trail lunch directly below the top cinch drawstring.
- Secure Outer Compartments: Place your first-aid kit, multi-tool, headlamp, and sunglasses in the floating lid compartment. Slide water bottles into the elastic side pockets, and tuck trekking snacks into your hip belt pouches.
Fine-Tuning Harness Straps for Maximum Comfort
Even a perfectly packed bag will feel painful if your harness straps are misadjusted. Once your pack is loaded, loosen every strap on the harness before lifting it onto your body. Hoist the pack by its sturdy haul loop onto one knee, then slip your arms through the shoulder straps.
Always fasten and tighten your padded hip belt first. The center of the hip belt pads should wrap directly over your iliac crest (the top ridge of your hip bones). Pull the belt webbing snug until the weight rests securely on your hips. Next, pull the shoulder strap adjustment tails downward until the straps gently hug your chest without bearing primary downward weight.
Finally, adjust your load lifter straps. These are the small straps connecting the top of your shoulder harness to the upper pack frame. Pull them until they form a clean forty-five-degree angle. This pulls the top of the pack closer to your neck, eliminating backward leverage and stabilizing the bag during rocky descents.
Frequently Asked Questions
Should tent poles go inside or outside the backpack?
Both methods work well. Many hikers prefer sliding the long pole bag vertically down an exterior side water bottle pocket, securing the top with the side compression strap. This saves internal volume and prevents rigid poles from distorting the pack’s cylindrical shape.
How heavy should my loaded backpack be?
As a proven outdoor standard, your fully loaded pack (including food, water, and fuel) should not exceed twenty percent of your total body weight for multi-day backpacking, or ten percent for simple day hiking. Keeping gear light prevents joint strain and keeps hiking enjoyable.
Hit the Trails with Confidence
Mastering how to pack a backpack for camping correctly is an empowering milestone that opens the door to unforgettable wilderness adventures. When every item has its proper place, your gear stays dry in unexpected weather, your body moves with natural agility, and your focus stays right where it belongs—on the breathtaking scenery around you. Pack your bag thoughtfully, dial in your harness adjustments, and step out onto the trail for an incredible outdoor journey!
For official park guidelines and wilderness safety bulletins, refer to the National Park backcountry trail regulations.