

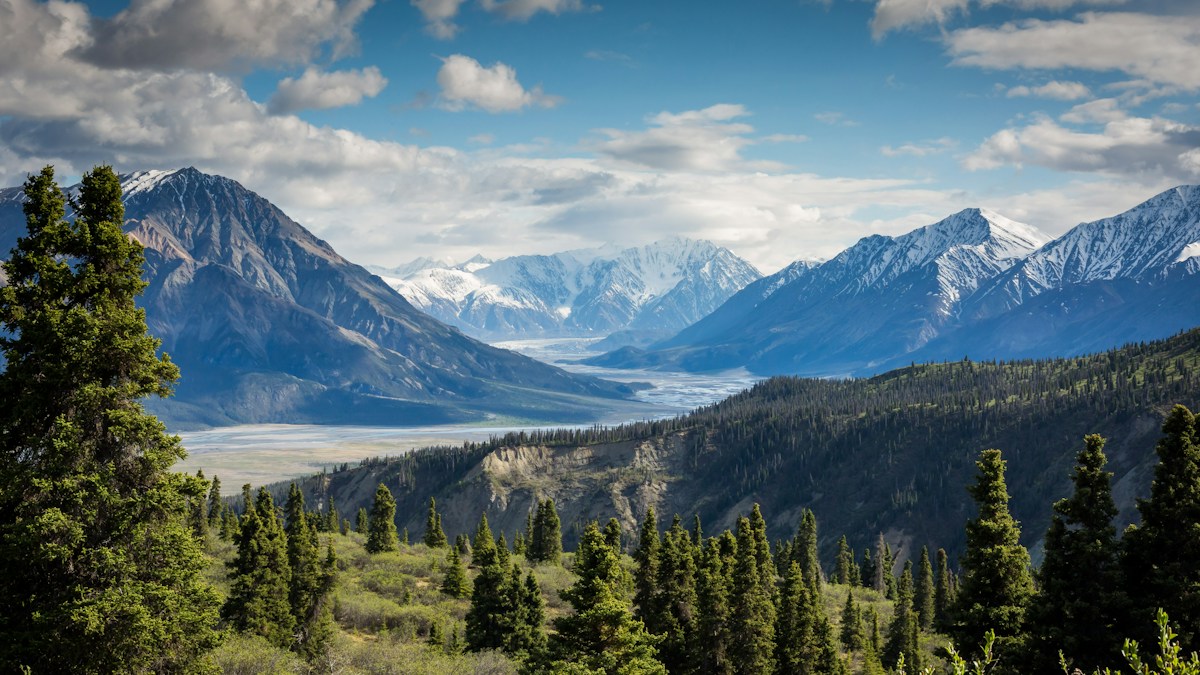
Hiking along rugged mountain trails, ascending sun-drenched granite passes, and trekking through dense pine forests is an exhilarating outdoor pursuit. However, long-distance trail hiking places intense physiological demands on your body. As your muscles work to conquer steep switchbacks, you lose substantial volumes of fluid and essential minerals through respiration and perspiration. Many beginner hikers make the mistake of waiting until their mouth feels completely parched before reaching for their water bottle. In the backcountry, waiting until you feel thirsty means you are already experiencing mild dehydration, which leads to muscle fatigue, throbbing headaches, and reduced coordination on rocky descents. Learning how to stay hydrated while hiking long trails is a crucial wilderness skill that keeps your energy high, your muscles strong, and your mind sharp throughout every outdoor journey. Here is your comprehensive guide to trail hydration strategies, electrolyte balance, and field filtration habits.
How Much Water Should You Carry on the Trail?
Water is the heaviest item in any hiker’s backpack, weighing exactly 2.2 pounds per liter (8.34 pounds per gallon). Carrying too much water exhausts your leg muscles, while carrying too little invites dangerous dehydration. Finding the right balance depends on hiking duration, elevation gain, air temperature, and your personal perspiration rate:
The Baseline Hourly Standard: Under moderate weather conditions (sixty to seventy degrees Fahrenheit) on gentle terrain, an average hiker should drink approximately one half-liter (16 ounces) of fluid per hour of active hiking.
Hot Weather and Strenuous Climbs: When trekking under direct summer sun above eighty degrees or climbing steep, strenuous passes, your fluid requirements double to one full liter (32 ounces) per hour.
The “Camel-Up” Technique: Experienced trail hikers drink 16 to 24 ounces of clean water at the trailhead before strapping on their pack. Pre-hydrating gives your body a valuable head start and reduces the amount of fluid you need to haul on the trail.
Trail Hydration Systems: Bottles vs. Hydration Bladders
| System Type | Key Advantages | Primary Limitations | Best Trail Use |
|---|---|---|---|
| Hydration Bladder (Water Reservoir) | Hands-free sipping tube; encourages frequent small sips; center-of-gravity balance. | Difficult to monitor remaining water level; harder to clean hoses; freeze in winter. | Fast-paced day hikes, trail running, mountain biking. |
| Wide-Mouth Bottles (e.g., Nalgene) | Virtually indestructible; easy to fill and clean; visible water level; hold hot liquids. | Heavier tare weight; requires stopping or reaching side pockets to drink. | Cold weather camping, mixing electrolyte powders, camp cooking. |
| Ultralight Polyethylene Bottles | Extremely lightweight (1.2 oz); inexpensive; threads directly to microfilters. | Cannot handle boiling water; narrower opening; less durable long-term. | Long-distance backpacking, thru-hiking, three-season day hikes. |
The Critical Importance of Electrolyte Replacement
When discovering how to stay hydrated while hiking long trails, drinking plain water is only half the physiological equation. When you hike in warm weather, your body excretes vital mineral salts—primarily sodium, potassium, and magnesium—through your sweat glands. If you continuously drink large volumes of pure water without replenishing salts, you dilute the sodium concentration in your bloodstream, a potentially serious condition known as hyponatremia.
Symptoms of electrolyte depletion include fatigue, muscle cramps in calves and thighs, dizziness, and mild nausea. Prevent electrolyte imbalances by adding electrolyte drink mixes, effervescent mineral tablets, or liquid mineral drops to one of your water bottles. Eating salty trail snacks like salted pretzels, roasted almonds, beef jerky, and dried bananas between water breaks restores natural sodium levels and keeps muscles contracting smoothly.
Scouting and Filtering Trail Water Sources
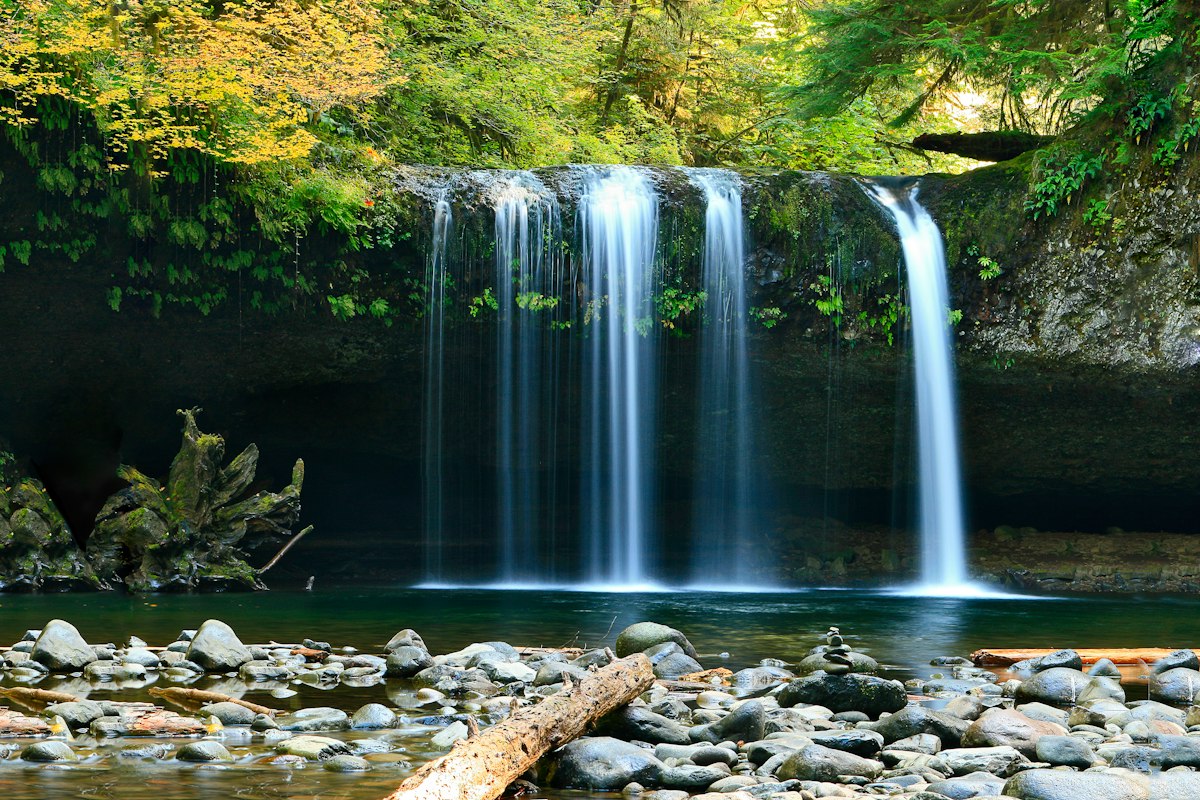
On hikes exceeding eight to ten miles, carrying all the water you need for the entire day is impractical. Learn to scout natural water points along your trail route:
- Map Out Water Stops at Home: Check topographic trail maps and ranger station reports before leaving. Mark permanent streams, perennial springs, and lake crossings along your intended path.
- Carry a Fast Squeeze Filter: Pack a lightweight 0.1-micron squeeze water filter (such as the Sawyer Squeeze). In less than sixty seconds, you can filter two liters of crisp, pathogen-free water directly from a mountain creek into your bottles.
- Never Rely on Seasonal Runoff: Tiny seasonal trickles and dry creek beds often vanish by mid-summer. Always confirm that water sources are flowing before relying on them as your sole hydration point.
Recognizing Early Signs of Dehydration and Heat Exhaustion
Being proactive about trail hydration means listening to subtle bodily cues before dehydration becomes dangerous. Watch for these progressive signs:
- Mild Dehydration: Dry lips, slight dry mouth, decreased energy, and dark yellow urine. Remedy immediately with 16 ounces of cool water and a salty snack.
- Moderate Dehydration: Throbbing headache, noticeable fatigue, muscle cramping in calves, and dry sticky tongue. Stop hiking in the shade for thirty minutes and rehydrate with electrolyte fluids.
- Heat Exhaustion Warning: Profuse sweating followed by clammy skin, nausea, lightheadedness, and rapid pulse. Move to cool shade, loosen restrictive clothing, apply wet bandannas to neck and wrists, and rest.
Winter Hiking Hydration: Overcoming the Frozen Tube Dilemma
In cold shoulder seasons or winter hiking, hydration bladders can freeze quickly inside exposed shoulder hoses. Prevent freezing by blowing air back into the sip tube after every drink, forcing water out of the hose back into the insulated reservoir inside your pack.
The Role of Electrolyte Foods in Trail Stamina
While specialty sports powders are convenient, wholesome everyday trail foods naturally provide rich doses of vital electrolytes to keep your muscles functioning at peak power:
- Potassium Powerhouses: Dried bananas, dried apricots, and roasted pumpkin seeds deliver dense potassium that prevents muscle twitches during long climbs.
- Sodium and Magnesium Snacks: Salted almonds, pretzels, dark chocolate, and beef jerky restore lost sodium and magnesium, maintaining steady blood pressure on warm days.
- High-Water Trail Fruits: Packing sturdy whole fruits like crisp apples, juicy oranges, or cucumbers provides refreshing hydration breaks along the trail.
Frequently Asked Questions
How can I check if I am properly hydrated on the trail?
The simplest, most reliable indicator of hydration is urine color. Pale straw or clear urine indicates excellent hydration. Dark amber or apple-juice-colored urine is an immediate signal that you need to stop and drink 16 to 24 ounces of water with electrolytes.
Can I drink stream water if it looks completely crystal clear?
Never drink untreated wilderness surface water, no matter how pure it appears. Microscopic parasites like Giardia and Cryptosporidium thrive in clear cold water and cause severe intestinal illness. Always filter or boil your water first.
Conquer the Trails with Steady Energy
Practicing how to stay hydrated while hiking long trails transforms challenging mountain treks into invigorating, high-energy wilderness adventures. By sipping fluids consistently every twenty minutes, replenishing vital electrolytes with salty trail snacks, and scouting natural filter points along your path, you maintain peak physical stamina from the trailhead to the summit and back. Fill your canteens, monitor your hydration habits, and step out onto the trail for an incredible outdoor journey!
For official park guidelines and wilderness safety bulletins, refer to the National Park Service trail hydration and heat safety alerts.